
How do I add a graft to a tree?
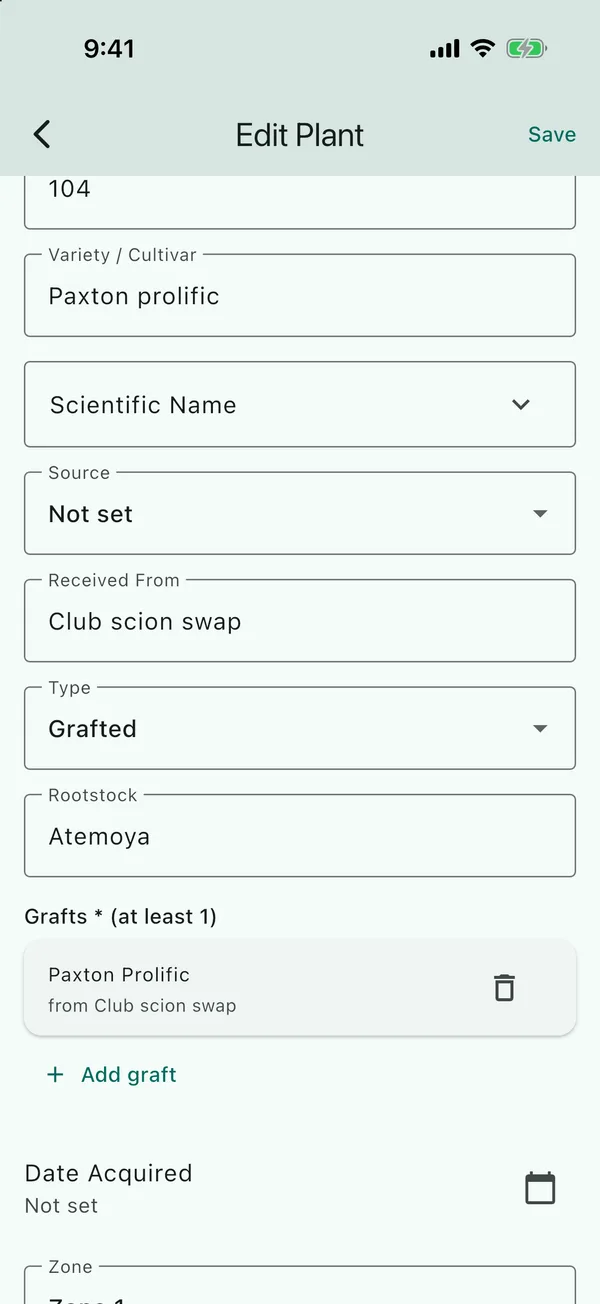
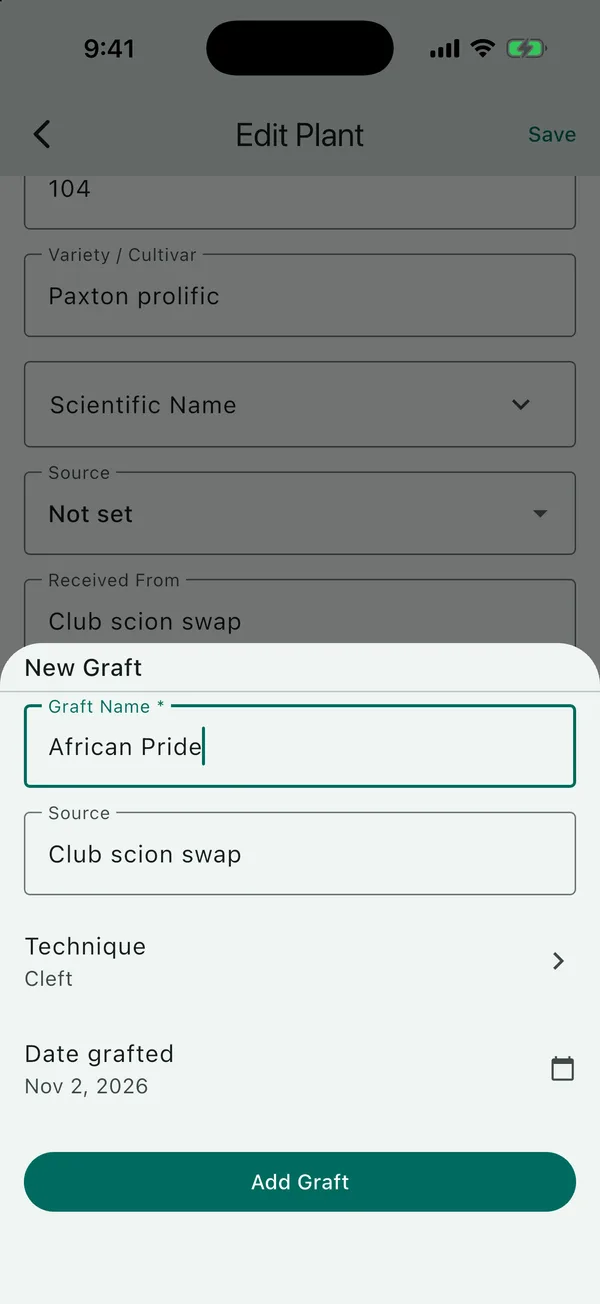
Edit the tree, set its Type to Grafted, tap Add graft and type the variety in Graft Name. The name is the only thing you have to fill in, and the graft is saved when you save the tree.
Each graft on a tree has its own name (usually the variety), and you can also record where the scion came from, the technique you used and the date you grafted it. Only the name is required, so if you can’t remember where some of your scions came from, leave Source and Technique empty and fill them in later if you find out. Each graft keeps its own photos.
Add the first graft
- Open the tree and tap the pencil to edit it (which icon is that?).
- Set Type to Grafted for one variety, or Multi-grafted for two or more. A Rootstock field and a Grafts list appear underneath.
- Fill in Rootstock if you know it, for example Atemoya. The rootstock belongs to the tree, so you only enter it once.
- Tap Add graft to open the New Graft sheet.
- Type the variety in Graft Name, for example Paxton Prolific. It’s the only field you have to fill in.
- Fill in Source (where the scion came from) and Technique if you know them, or leave them empty. Date grafted starts at today’s date. If you grafted on a different day, change it.
- Tap Add Graft, then Save at the top of the form.
Add another graft later
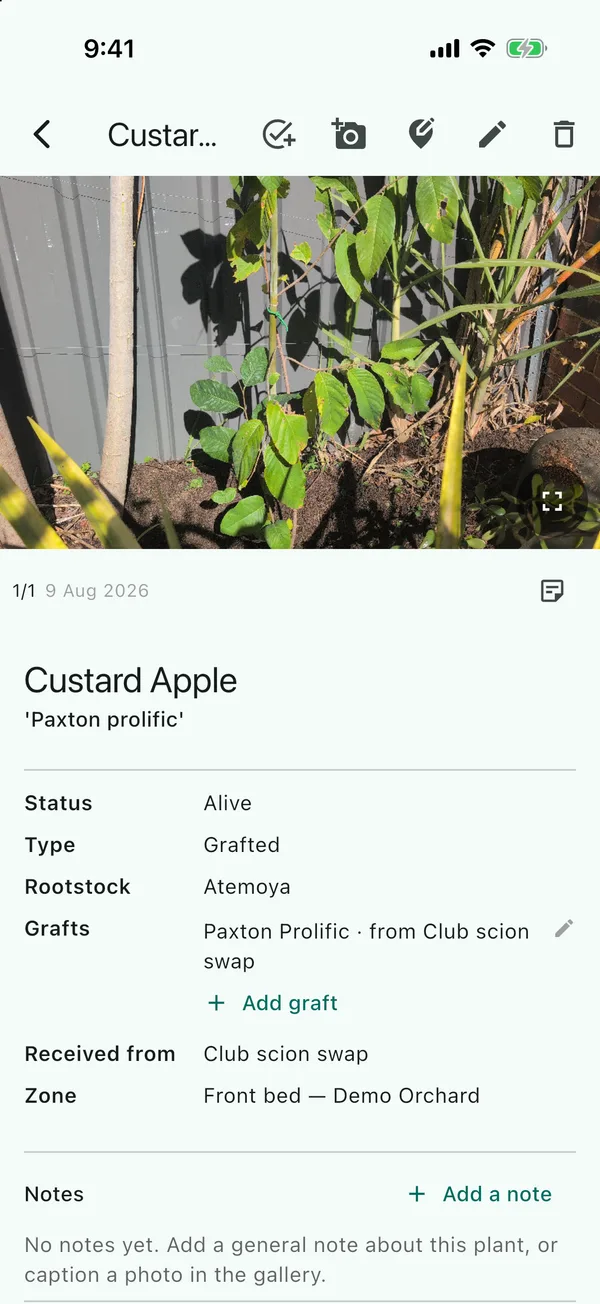
Once a tree has a graft, its page shows a Grafts row under Type and Rootstock. Tap Add graft there and fill in the same sheet, and the graft is saved as soon as you tap Add Graft.
You can also add a graft while you’re adding a photo, by choosing the Graft category and tapping New Graft in the list of grafts, and the photo is linked to the new graft straight away.
Choose the technique
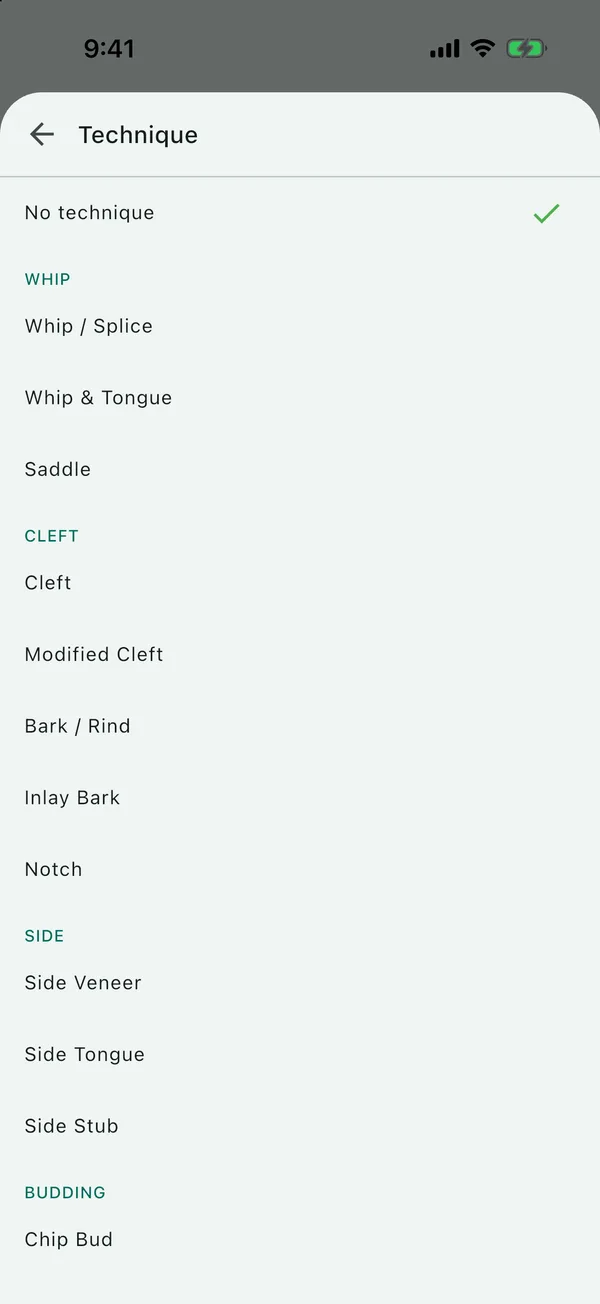
Tap Technique to open the list, which is grouped into families (whip, cleft, side, budding, repair and specialty). If yours isn’t there, tap Custom technique… and type its name, and it’ll be in the list for every graft after that. No technique clears it. If you don’t know it yet, leave it empty and add it later by tapping the graft.
If you’re not sure what to call the graft you did, the grafting techniques reference describes all 19 and when you’d use each one.
If the tree was entered as a seedling
Set its Type to Grafted and add the graft as above. If you’ve already added grafts to a tree whose Type is still Seed, they’re kept and still show on the tree’s page. You only need to change the Type.
Updated . Something here doesn't match what you see in the app? Tell me and I'll fix the guide.