
How do I add a tree?
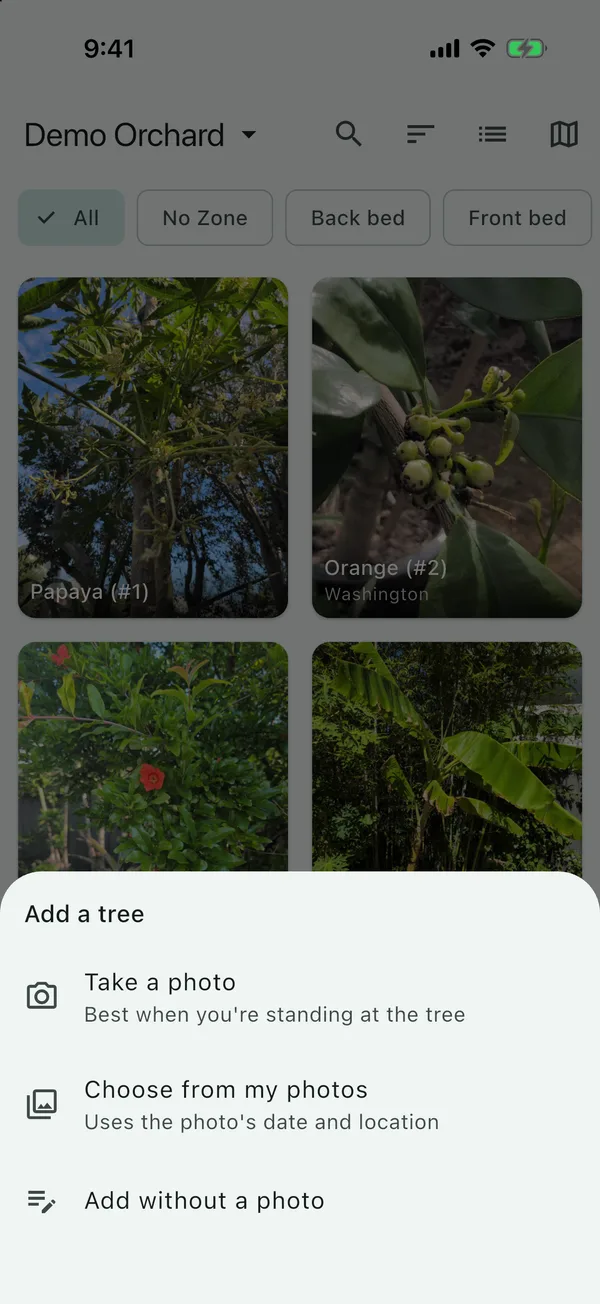
Tap + and choose Take a photo, Choose from my photos or Add without a photo, type the tree's Common Name and tap Save. The name is the only thing you have to fill in.
Everything on the form apart from Common Name is optional. If you don’t know a tree’s variety, where it came from or when you got it, leave those empty and fill them in later from the tree’s page. What each field is for goes through them one by one.
Add a tree
-
On the Plants tab, tap +.

-
Pick one of the three ways in, from the Add a tree list:
- Take a photo if you’re standing at the tree. The photo becomes the tree’s first photo, and your phone’s location while you took it puts the tree on the map.
- Choose from my photos to use a photo you’ve already taken. The tree takes the photo’s date and place, as described in adding a tree from a photo you’ve already taken.
- Add without a photo for an empty form.
-
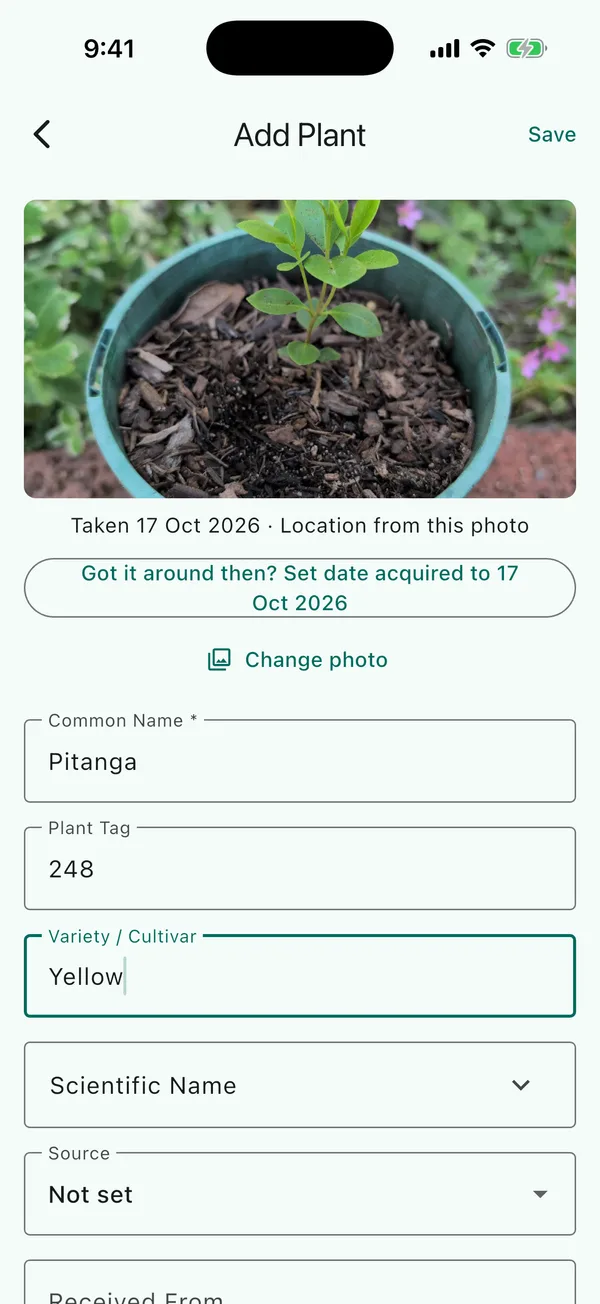
Type the tree’s Common Name, for example Pitanga. As you type, it suggests names you’ve already used, which keeps the spelling the same each time.
-
Fill in anything else you know, such as Variety / Cultivar (Yellow).
-
Tap Save.
If you start with the camera and then change your mind, back out of it and you’ll get the form without a photo.
I usually add a tree while I’m standing at it, as it helps get the position right, and I can record anything notable about the tree while I’m looking at it.
Your first tree
-
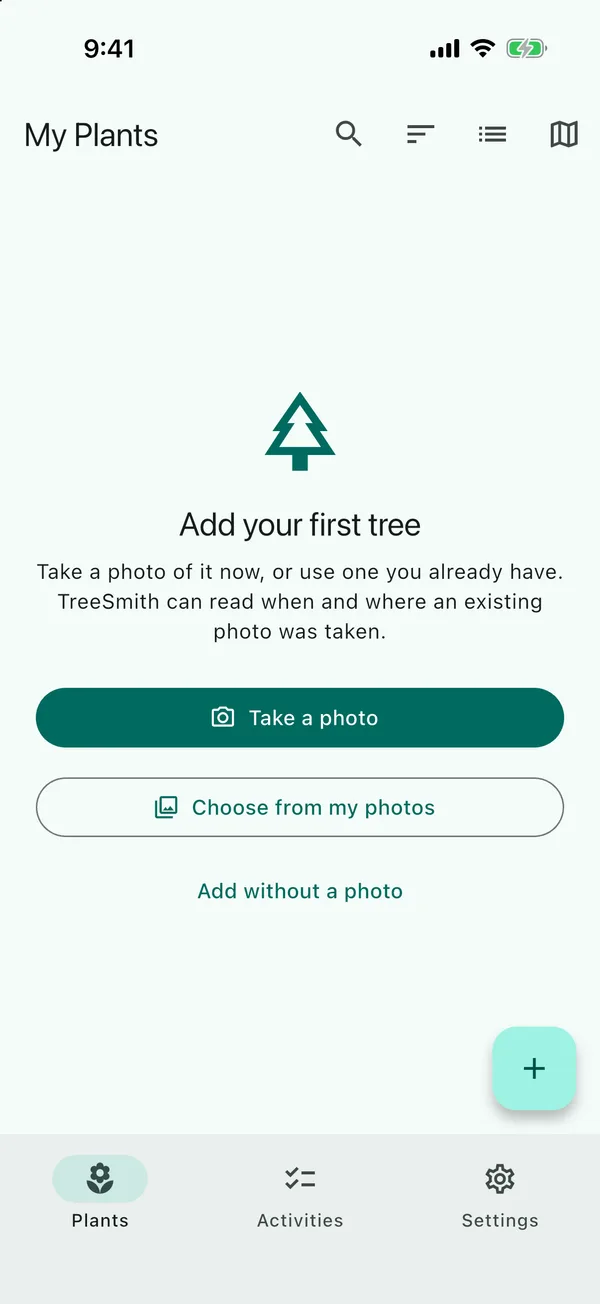
Open the app. Until you’ve added a tree, the Plants tab shows Add your first tree, with the same three choices as buttons.
-
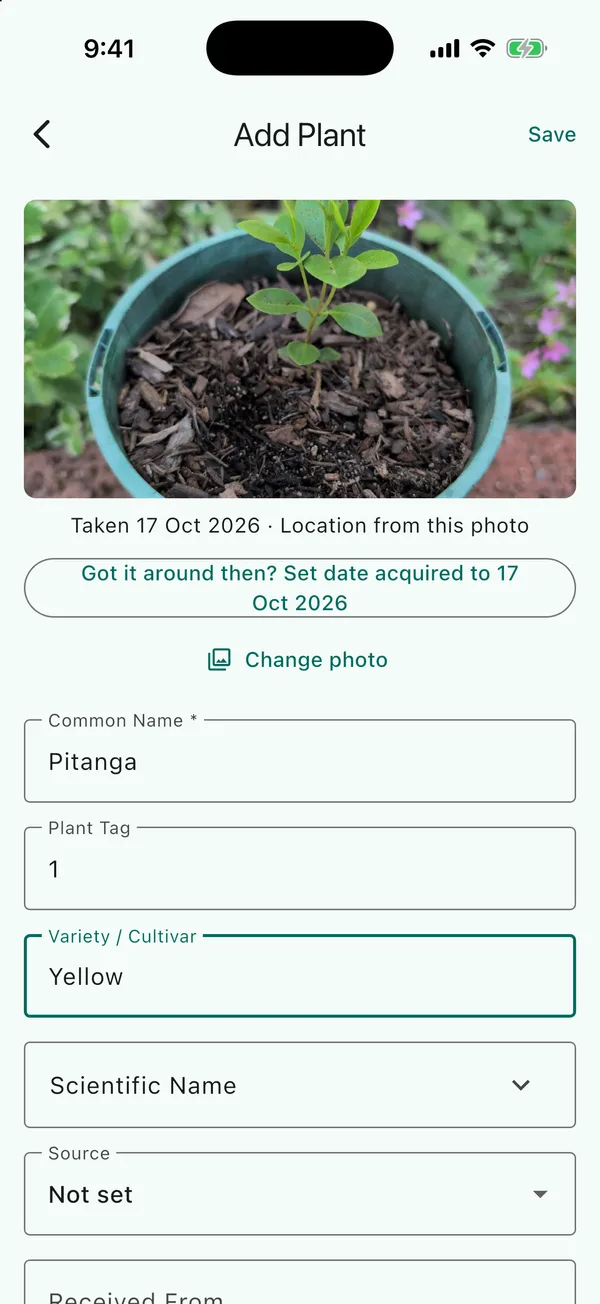
Tap Choose from my photos and pick a photo of the tree, then type its Common Name and tap Save. Plant Tag is already filled in, starting at
1.
-
You’ll see Where are your plants?, as every tree needs a location. The name starts as
My Home. Tap Continue to keep it, or type your own first. You can rename it later, and add more locations, in Settings under Locations.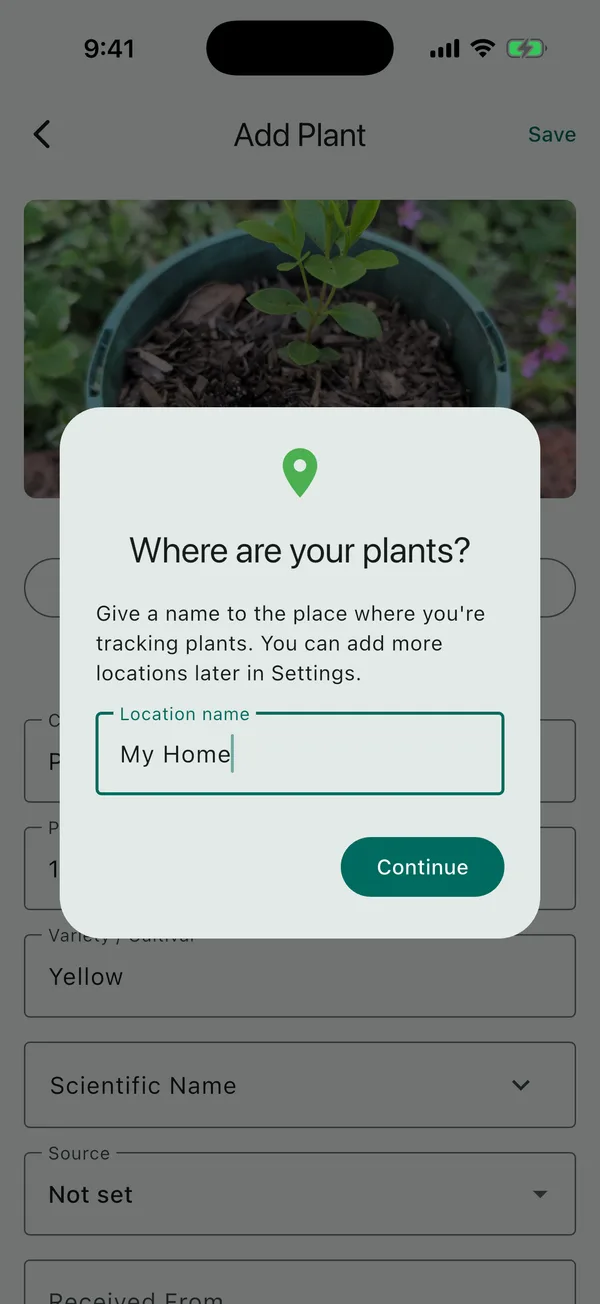
-
The map opens at the spot where the photo was taken. Drag it until the cross is on the trunk, then tap Done. If you’d rather do it later, tap Cancel and use Fix location on map.
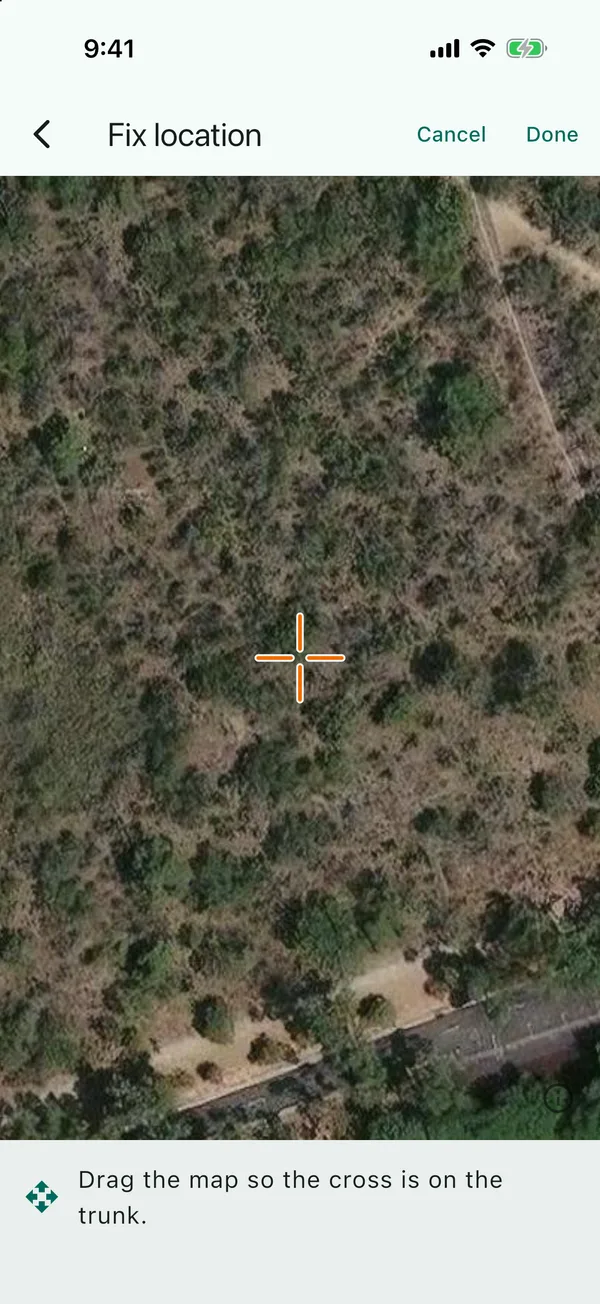
If you add your first tree without a photo, you’ll see Find You on the Map first. Tap Continue and allow location access, and the map moves to where you’re standing.
-
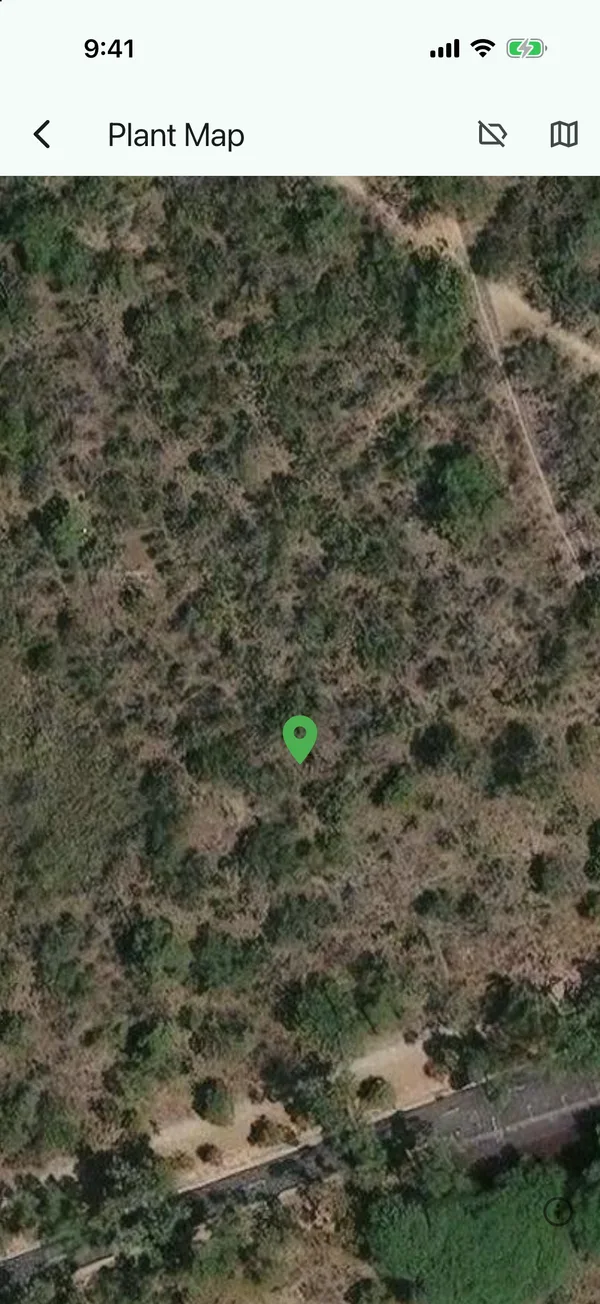
The tree’s pin is on the map.
-
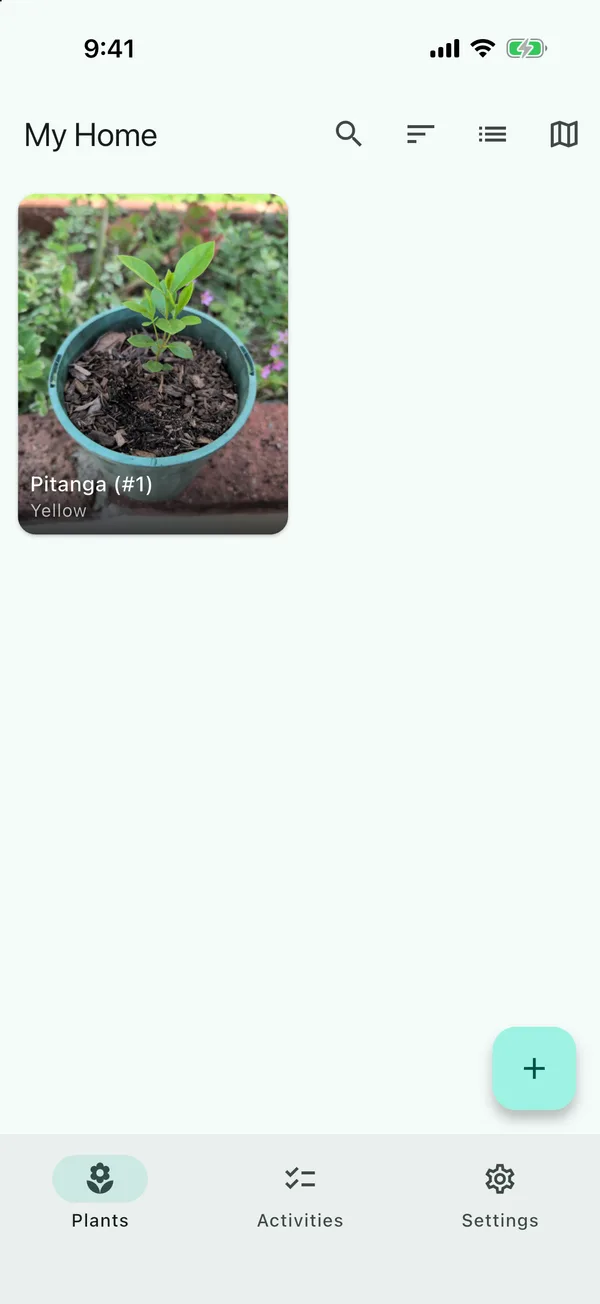
Go back, and the tree’s in your list with its photo.
With more than one location
If you have two or more locations (a Pro feature), a new tree goes into the location you’re looking at. If you’re looking at All Locations, you’ll see Which location is this tree at? when you tap Save, with your locations listed and + New location at the bottom.
Choose what + does
Go to Settings → App Preferences → When you tap + and choose:
| Setting | What tapping + does |
|---|---|
| Ask each time | Opens the Add a tree list |
| Open the camera | Goes straight to the camera, for walking around the garden adding trees |
| Choose from my photos | Goes straight to your photos, for adding trees from old photos |
| Open the form | Opens an empty form |
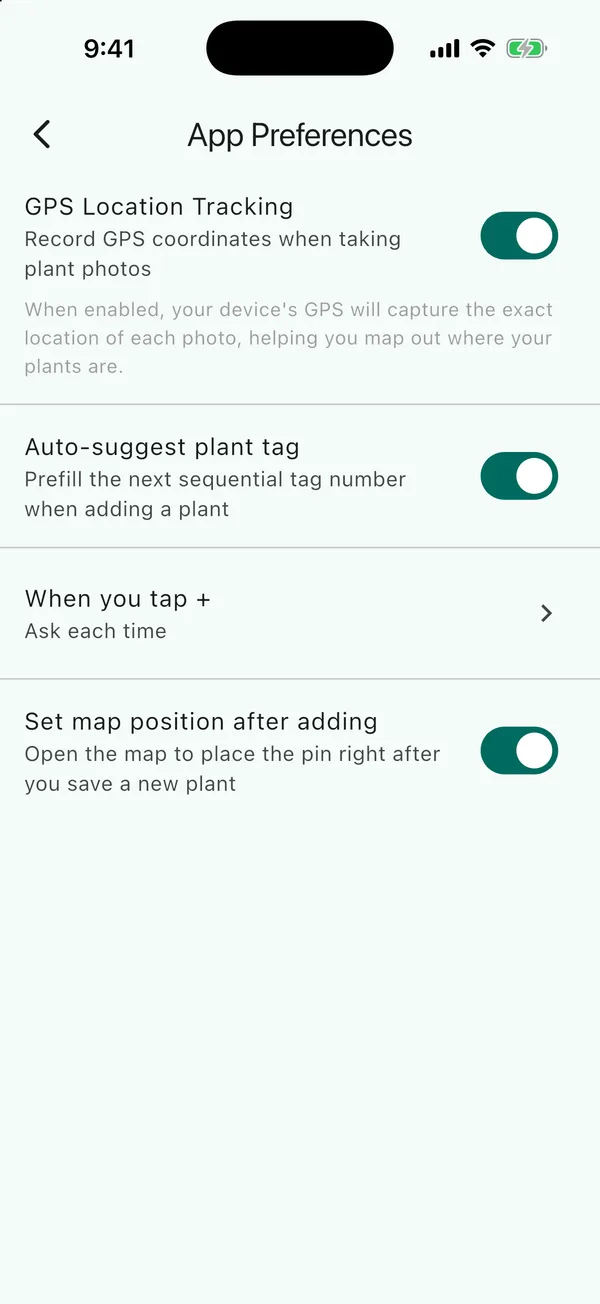
Set map position after adding, also in App Preferences, opens the map after you save a new tree so you can put its pin on the right spot.
Updated . Something here doesn't match what you see in the app? Tell me and I'll fix the guide.