
How do I sort trees into locations and zones?
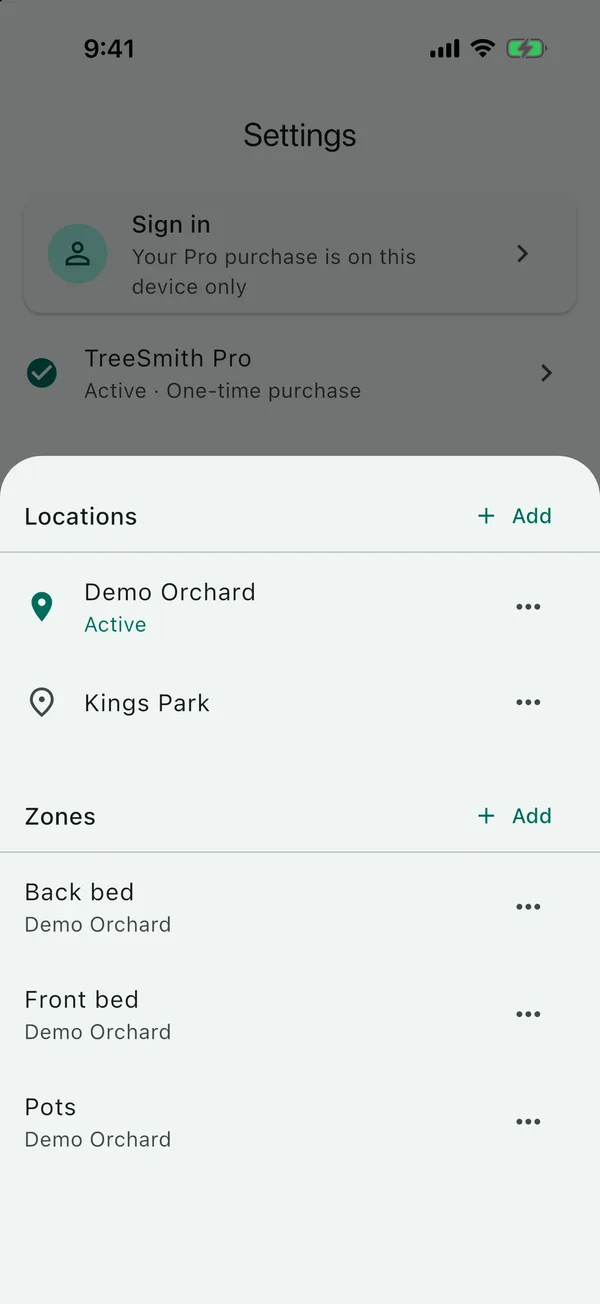
A location is a whole place, like your house or a community garden, and a zone is a part of it, like a bed or a row. Add and rename them in Settings → Locations. Zones are free, and a second location needs Pro.
You don’t have to use zones at all. Every tree goes into a location (your first one is made when you save your first tree), but a zone is optional, and trees without one are listed under No Zone.
My own zones are front, back, north side, south side, balcony and indoors.
Add a zone
-
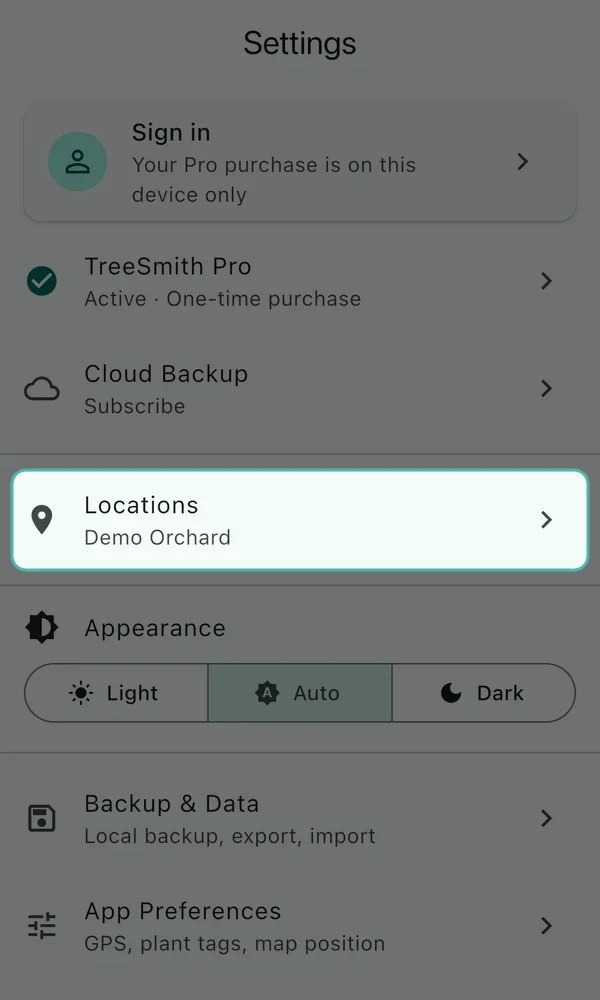
Go to Settings and tap Locations.
-
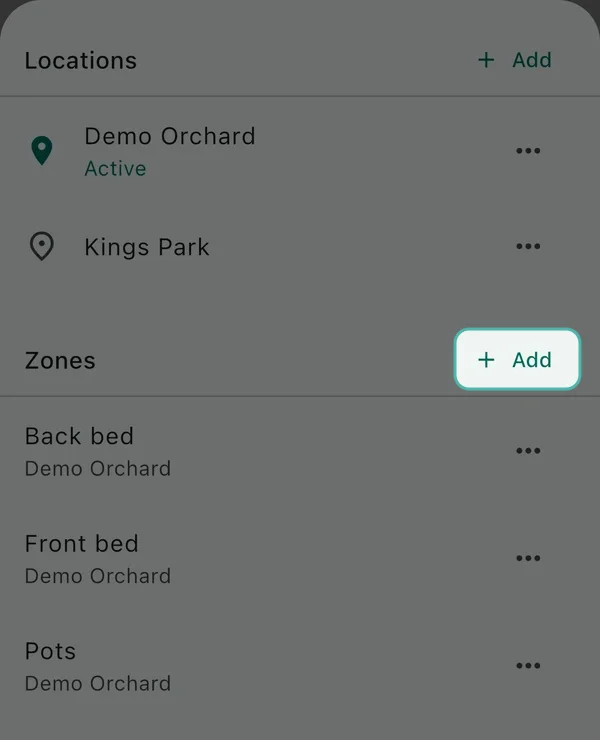
Next to Zones, tap Add.
-
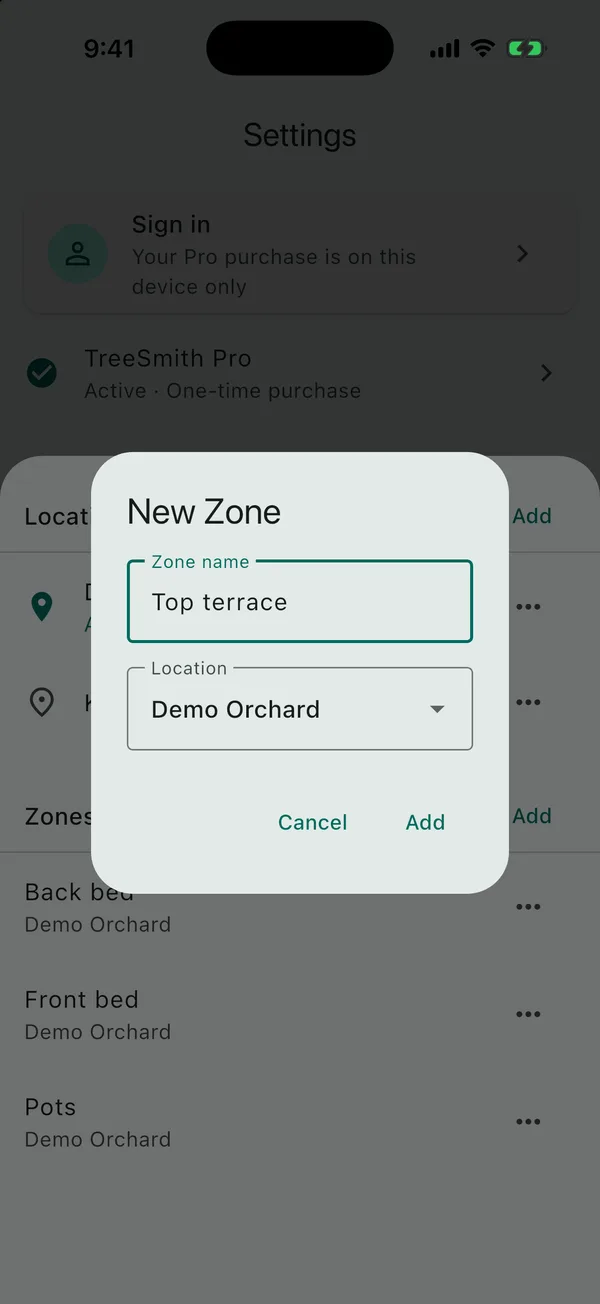
Type the Zone name, for example Top terrace, and choose its Location.
-
Tap Add.
You can also make a zone while you’re adding or editing a tree: open the Zone list on the form and choose + Add new zone.
To put a tree in a zone, edit the tree and choose the Zone. To move several trees at once, see moving trees in bulk.
Add a location
-
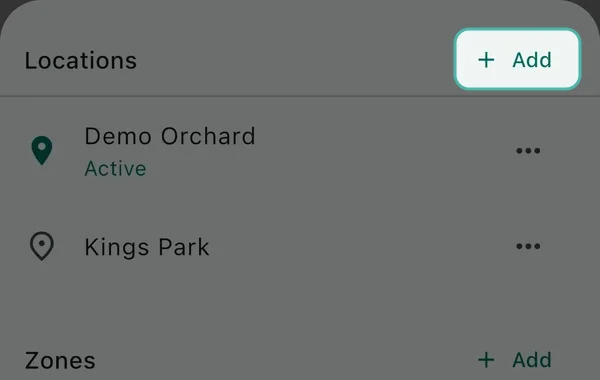
In Settings → Locations, tap Add next to Locations.
-
Type its name and tap Add.
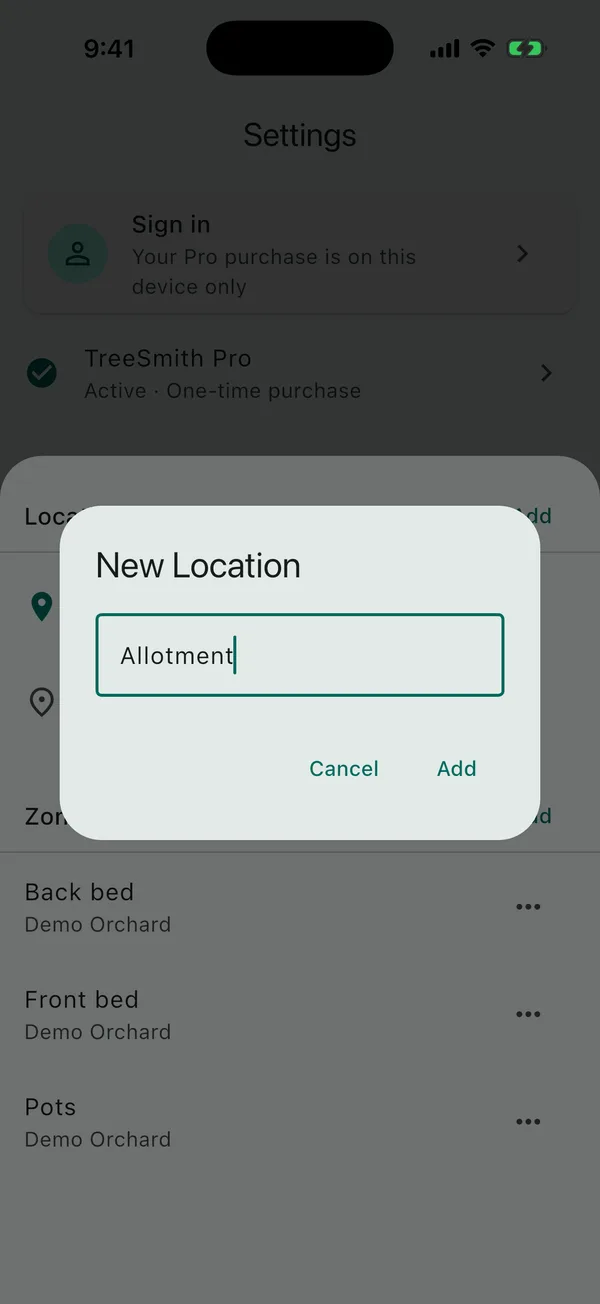
Your first location is free, and you can rename it at any time, but a second one needs Pro, and without it you’ll see Multiple locations require Pro.
Once you have two locations, the tree form has a Location field. To move a tree to the other location, edit it and change the field.
Switch between locations
With two or more locations, the name of the location you’re looking at is at the top of the Plants tab. Tap it to switch to another one, or to All Locations to see every tree.
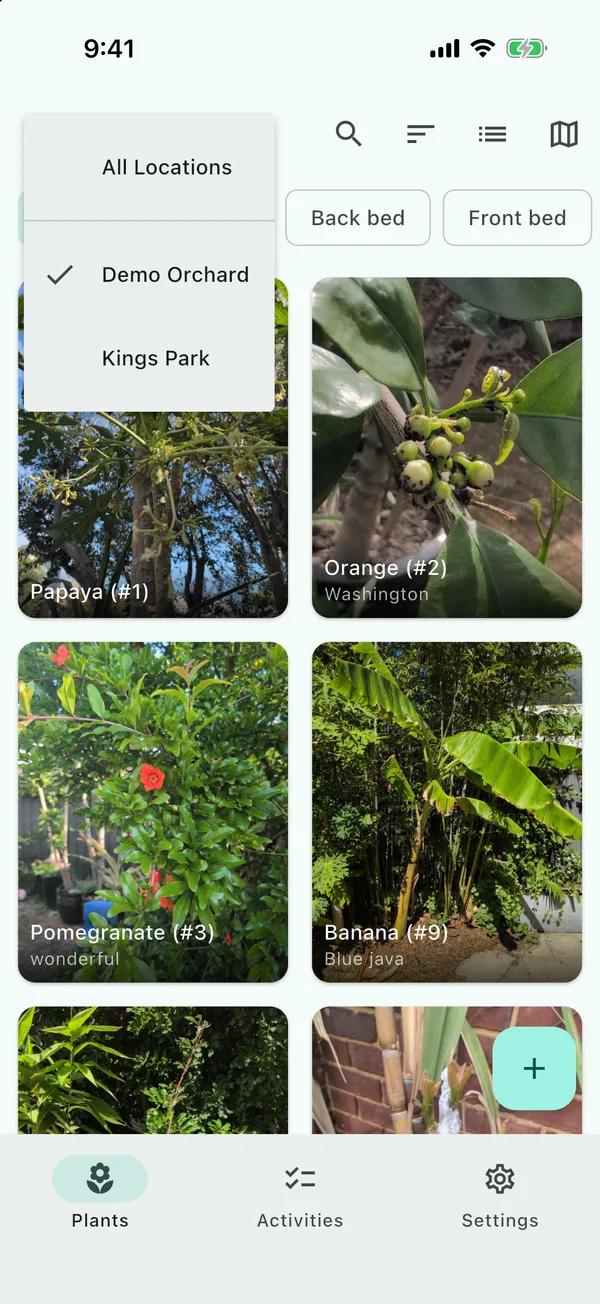
The location you pick applies to the Plants list, the map and the activity log, and new trees go into it. You can also pick it in Settings → Locations, from the menu next to a location, with Set Active.
Rename or delete
Each location and zone has a menu with Rename and Delete.
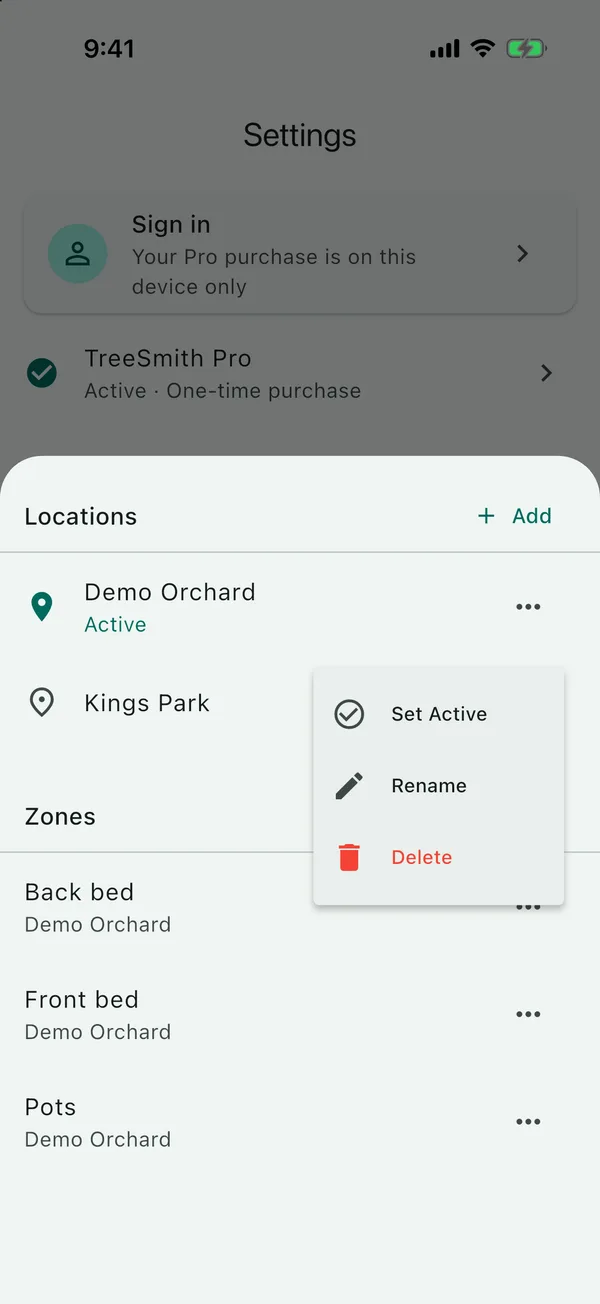
If you delete a zone, its trees aren’t deleted, and they’ll show under No Zone at the same location. You’ll see Delete Zone? with the number of trees in it before anything changes.
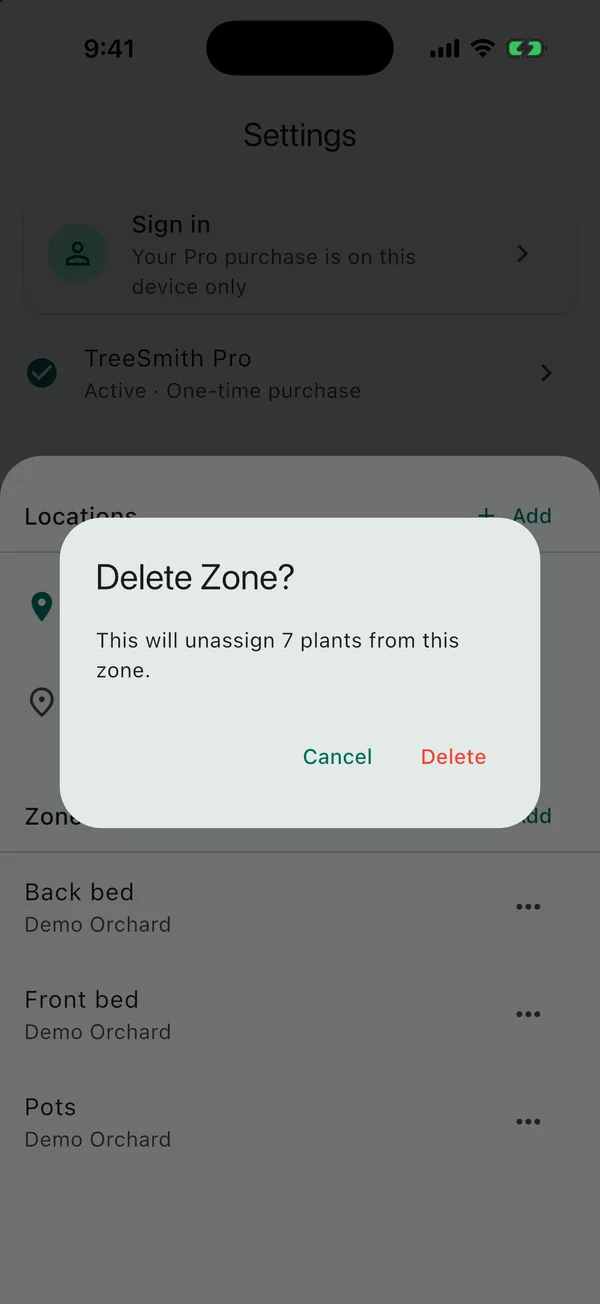
Delete a location with trees in it
-
Open the menu next to the location and tap Delete.
-
Choose what happens to its trees: Move them or Delete them too.
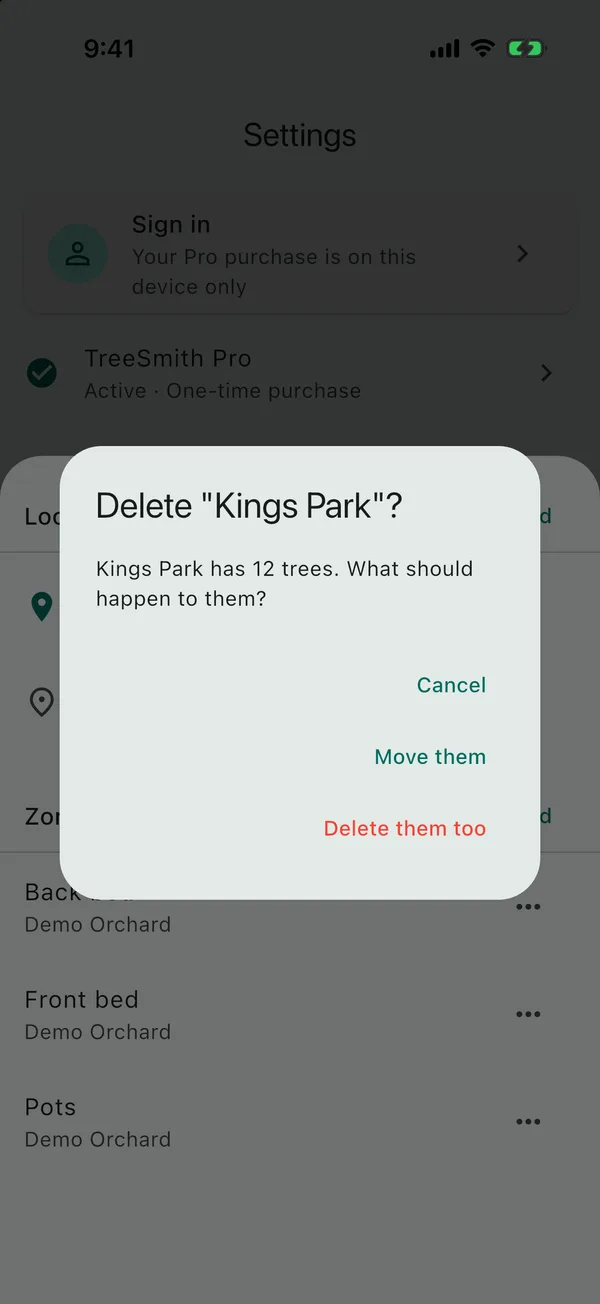
If you tap Move them:
-
Under Move to, pick another location, or New location… to make one (a new location needs Pro).
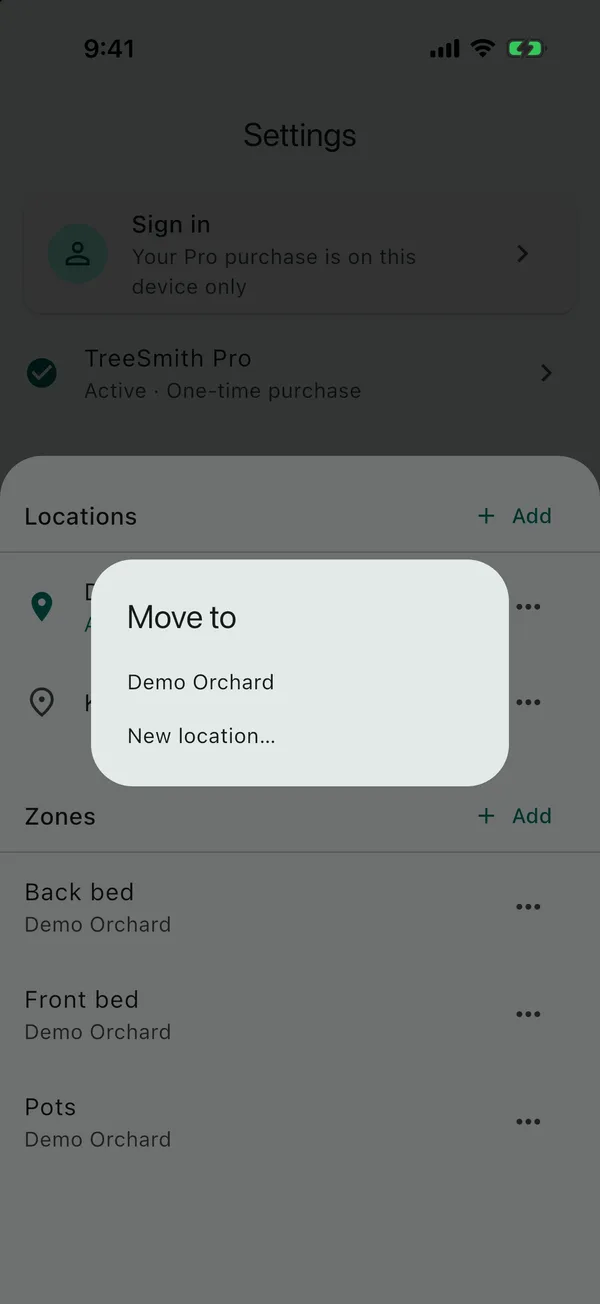
-
If any of the trees have a tag that’s already used at the other location, you’ll see each tree and its new tag before anything changes. The location’s zones move too, and a zone with the same name as one at the other location joins it.
-
Tap Move and delete.
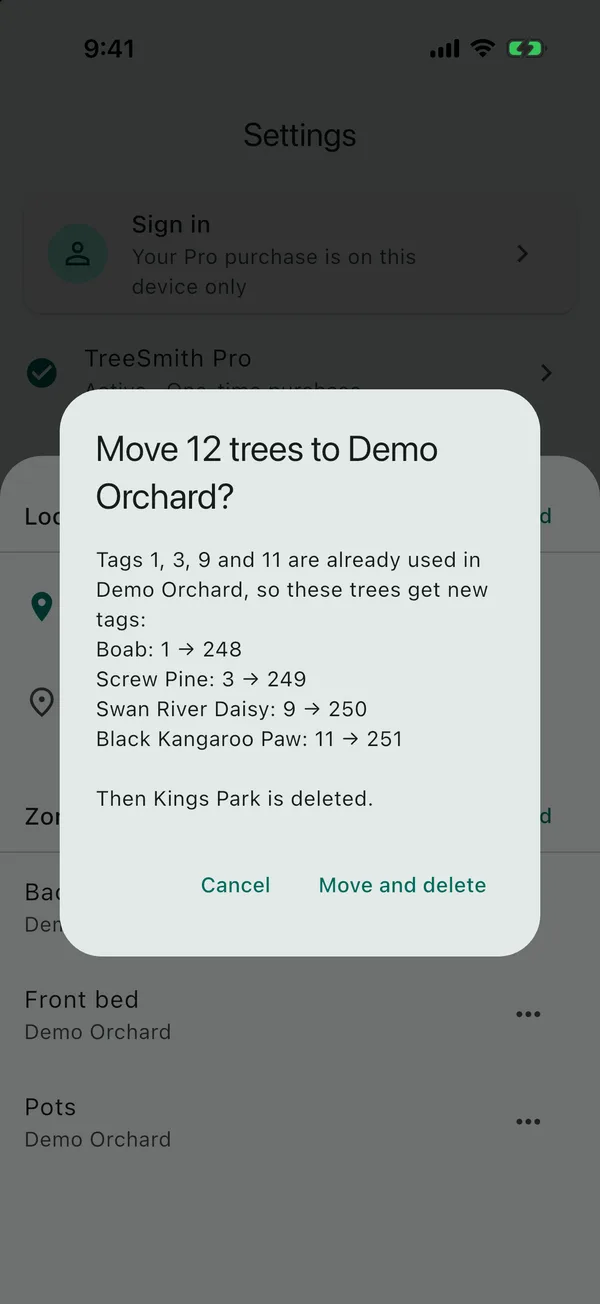
If you tap Delete them too, you’ll see how many trees, photos, grafts, activities and reminders are about to go. Deleting them can’t be undone.
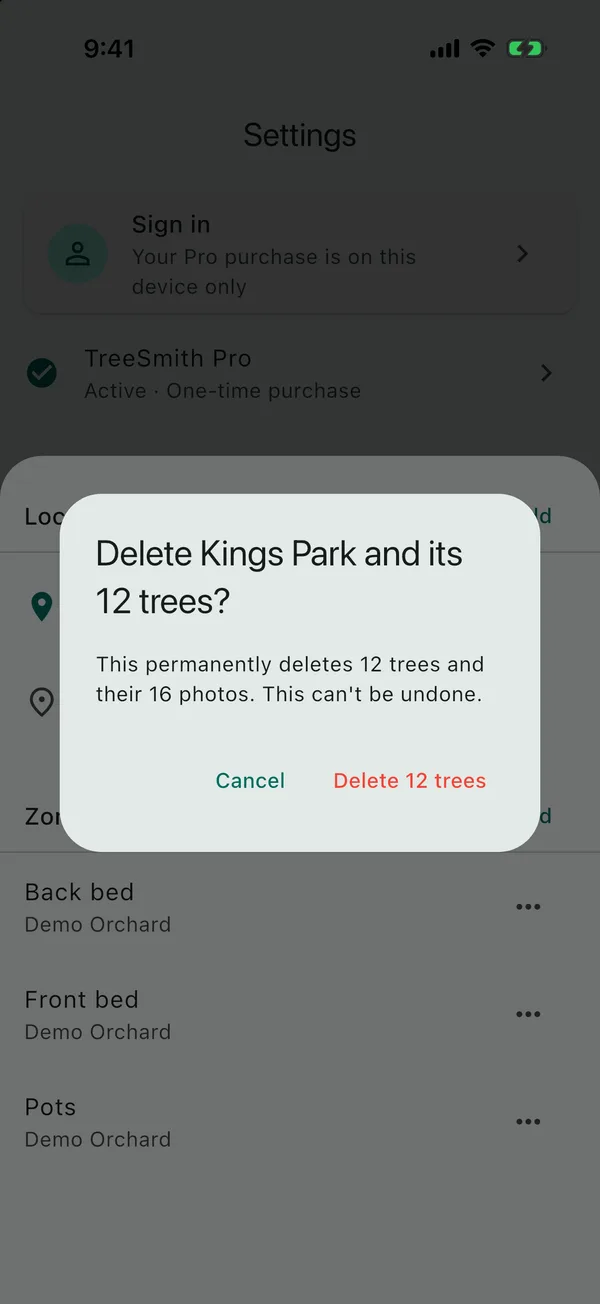
If the location has no trees, you’ll only need to confirm, and any zones in it are deleted too. If it’s your only location, there’s nowhere to move its trees, and you’ll be offered Rename instead.
Updated . Something here doesn't match what you see in the app? Tell me and I'll fix the guide.